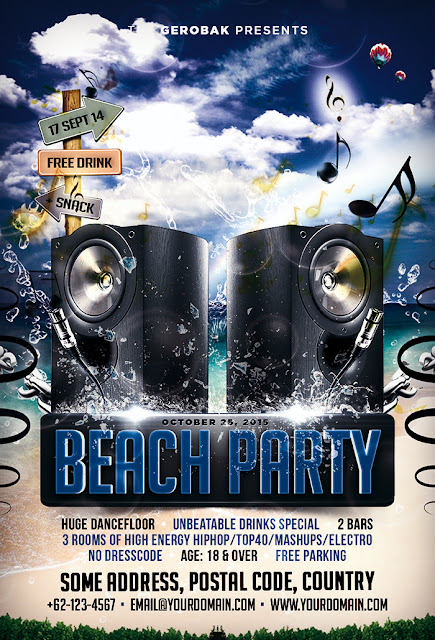
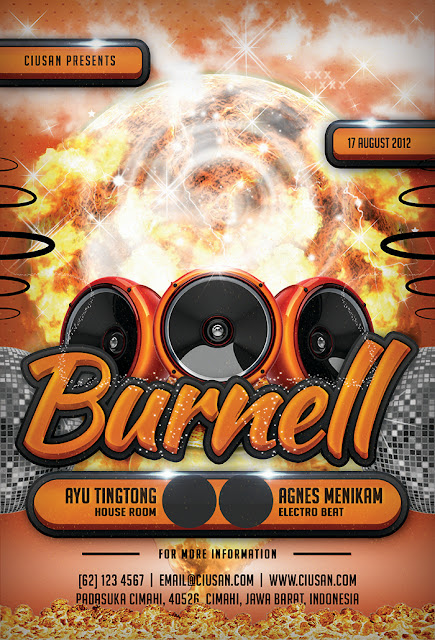
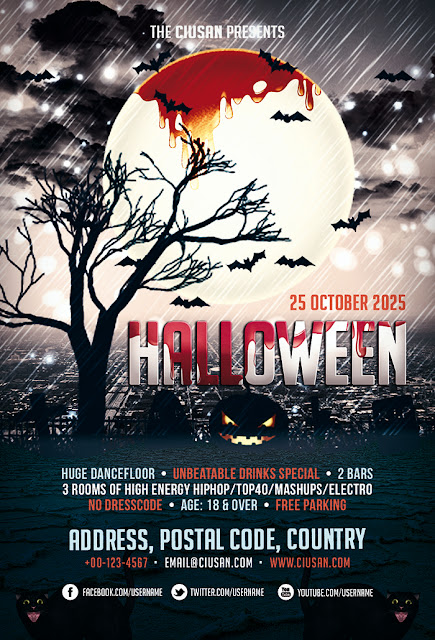
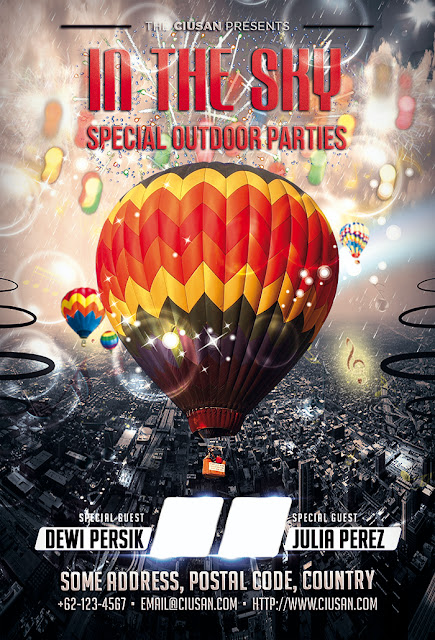
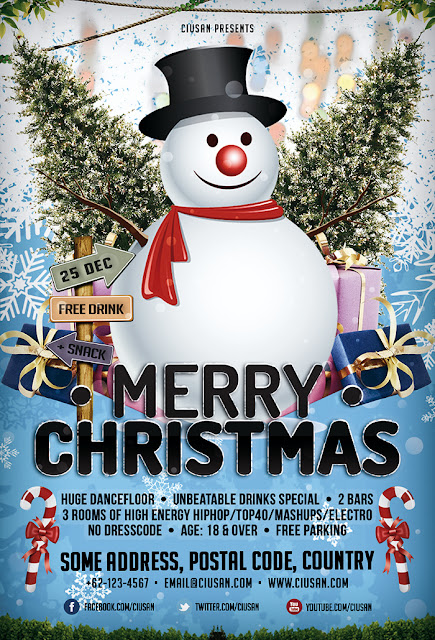
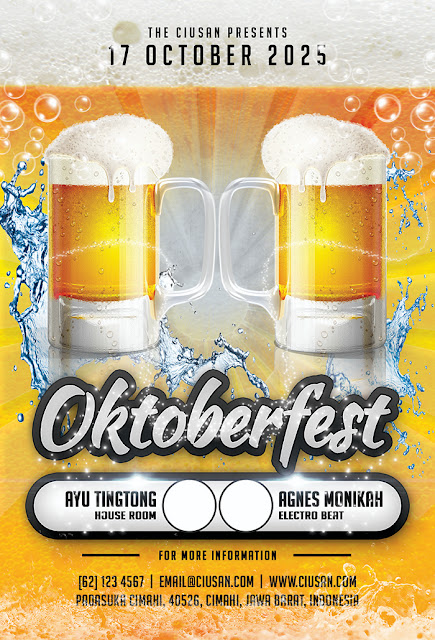
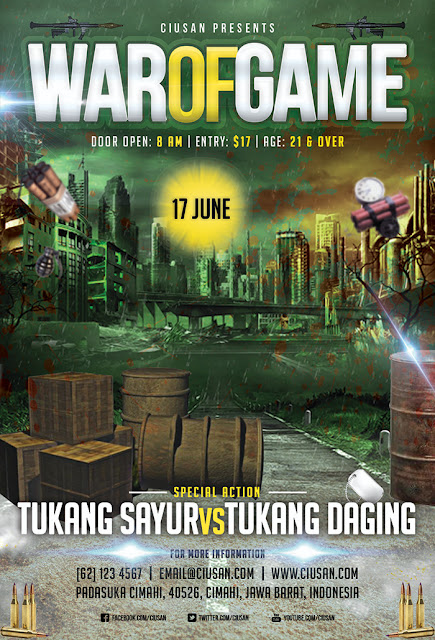
90+ Flyer Template Bundle Pack ll Flyer, Poster, Banner PSD ll How to design Banner
90+ Flyer Template Bundle Pack ll Flyer, Poster, Banner PSD ll How to design Banner
Hello Friends
Welcome back to Senty Roy Blog
My YouTube Channel :-Click Hare
My YouTube Channel :-Click Hare
I'm glad that you are hare
I am try to give you all kind of Software free of cost and all kind of graphic design material
Also i am try to give you video editing material.
Let me explain
You with get Link :--also you can get about adobe photoshop plugin, action, png, psd, light effect, photoshop overlay, scripts, brush file, text style, photo retouch action tool, panel, bokeh light effect, bokeh light effect for video, video project for premiere pro, title project for premiere pro, song project for premiere pro cc 2020, after effect project, logo project, transforms for video, wedding album software free and paid, wedding album psd templates, Indian and western psd templates for adobe photoshop with every size with nice quality and design, photo editor, photo background editor, passport maker, auto smooth plugin, auto color correction action, auto color correction software, auto color correction plugin, data recovery software paid and free, image resize software, eduis song project and many more.
If you are try to find some mockup psd file for free so you are now right ways on this (www.sentyroy.com / www.roseeditor.com) website you will get every think what you want only need visit my site.
Introduction
Designing a banner, poster, or flyer in Photoshop can be a creative and rewarding process, offering a myriad of possibilities to convey your message effectively. Here's a detailed guide to creating these designs:
Setting Up Your Document
1. Open Photoshop: Launch Photoshop and create a new document by going to `File > New`.
2. Choose Size: Select the appropriate size for your design. For a banner, consider a larger canvas like 3000x1000 pixels. For a poster, standard sizes could be 11x17 inches or 18x24 inches. Flyers are typically smaller, such as 8.5x11 inches.
3. Resolution: Set the resolution to 300 DPI (dots per inch) for high-quality printing.
Designing Your Layout
1. Background: Start with the background. You can use solid colors, gradients, or images. To add a solid color, select the Paint Bucket Tool and click on the canvas. For a gradient, use the Gradient Tool.
2. Images: Incorporate images related to your theme. Use `File > Place` to import images into your design. Ensure images are high resolution for print.
3. Text: Choose fonts that are legible and match your theme. Use the Text Tool (T) to add headings, subheadings, and body text. Experiment with font sizes, colors, and styles to create hierarchy.
Headline: Make the main message stand out with a large, bold font.
Subheadings: Provide additional details with slightly smaller text.
Body Text: Include essential information such as date, time, location, and contact details.
4. Color Scheme: Maintain consistency with a color scheme. Use colors that complement each other. You can use tools like Adobe Color to create a palette.
5. Borders and Shapes: Create visual interest with borders or shapes. Use the Rectangle Tool (U) for simple shapes, or the Pen Tool (P) for custom shapes.
6. Logo and Branding: If designing for a business or event, include the logo and branding elements. Place the logo in a prominent but non-intrusive location.
7. Whitespace: Allow for ample whitespace to avoid clutter. It helps guide the viewer's eye and improves readability.
Enhancing Your Design
1. Effects: Apply effects like drop shadows, bevels, or gradients to text or shapes. Use Layer Styles for quick effects.
2. Filters: Experiment with filters to add artistic effects. Access filters under `Filter` in the top menu.
3. Textures: Add textures to elements for depth. You can find textures online or create your own.
4. Smart Objects: Convert layers to Smart Objects (`Layer > Smart Objects > Convert to Smart Object`) for non-destructive editing.
5. Alignment: Ensure elements are aligned properly for a polished look. Use guides (`View > New Guide`) for precise alignment.
Saving and Exporting
1. **Save Your Work**: Save your Photoshop file (PSD) to retain layers and editability.
2. **Export for Print**:
- For a high-quality print, export as a PDF or TIFF. Go to `File > Export > Export As` and choose the format.
- Use CMYK color mode for printing (`Image > Mode > CMYK Color`).
3. **Export for Web**:
- For online use, save as a JPEG or PNG (`File > Export > Export As`).
- Use RGB color mode for web graphics (`Image > Mode > RGB Color`).
Printing Your Design
1. Professional Printing: If using a professional printing service, ensure your file meets their specifications (bleed, trim, color mode).
2. Home Printing: If printing at home, use high-quality paper and adjust printer settings for best results.
Tips for Success
Keep it Simple: Avoid overcrowding the design with too much information.
Hierarchy: Establish a clear hierarchy of information with size and placement of elements.
Contrast: Ensure text stands out against the background. Use dark text on light backgrounds or vice versa.
Proofread: Double-check all text for spelling and grammar errors.
Feedback: Get feedback from others to improve your design.
Save Versions: Save different versions of your design as you progress.
Designing in Photoshop offers endless possibilities, so don't be afraid to experiment with different techniques and styles to create a stunning banner, poster, or flyer!
Check This 👇 Important Software
01. Sublimation software ----------------------https://youtu.be/iZQbfn9cTpw
02. Infinity Photo Editor 6.0------------------https://youtu.be/sNEsVF5nY0k
03. Auto Album Maker Max 7.0--------------https://youtu.be/ixVJzCDvR4Y
04. Passport Maker 5.0-------------------------https://youtu.be/hOujb-CsA0g
05. Super Album Pro 6.0-------------------https://youtu.be/m5PsHRsOgXw
06. Overlay Factory 3.0------------------------https://youtu.be/t71Dd-XwimY
07. 3D Text Generator -----------------------https://youtu.be/cYhdJXg2LRY
08. Best Pre Wedding Effect ----------------https://youtu.be/L1KfZ3o8n2U
09. 2100+ New Wedding PSD Pack------https://youtu.be/XgGxChuJCO8
10. New Magic psd pack-----------------------https://youtu.be/MuN2rp9hrKs
11. Photo Enhancer Software-----------------https://youtu.be/gV2lAQPly7g
12. Calendar Maker 16.0---------------------https://youtu.be/1ZKqvV9DjPw
13. Photo Collage Maker V9.0 --------------https://youtu.be/wB5v10tAhtg
14. 2400+ PSD PACK (2022 Year PSD)--https://youtu.be/o2IZKDR842M
15. Auto Black & White to Color---------https://youtu.be/hD6_wgYlcNQ
16. Multi Photo Color Correction -----------https://youtu.be/IC3c5bVidzs
17. Auto Photo Selection -------------------https://youtu.be/sVsbvGZSn2Q
18. 2000+ PSD Pack----------------------------https://youtu.be/q9nN9IUsHBM
19. Digital Oil Painting-----------------------https://youtu.be/FwQXHbnuzB4
20. Auto Magic Pro 7.0--------------------------https://youtu.be/IpkSZgab7nk
21. Auto Cutting Photo Background------https://youtu.be/YeAG44I32g8
22. Auto Photo Collage Maker-----------https://youtu.be/ZZ7jWwAAWVM
A step-by-step tutorial How to Work (Tutorial Video)
File quantity:- 90+ PSD
Total File size:- 2.80Gb
Downloading size:-1.47gb
-: Download Link :-
👇 Part - 01 👇
-: Download Link :-
👇 Part - 02 👇
Please visit my YouTube channel for get more videos
Search
senty roy,senty roy youtube,senty roy filmora,90+ Flyer Template Bundle Pack,Flyer,Poster,Banner PSD,how to design banner,how to design flyer in photoshop,how to design poster in photoshop,how to design banner in mobile,how to design banner in photoshop,banner kese design kare,free banner psd,song banner psd,photo studio banner psd,movie poster psd free
If you need help for this post. so text us by email








Post a Comment
If you have any doudts, Please let me know